Introducing Fence Staining and Sealing: A Comprehensive Guide
Wooden fences, a staple in many outdoor spaces, can transform from functional to stunning with the right maintenance. This article delves into the art of fence staining and sealing, offering insights on understanding the process, preparing your fence, selecting the perfect products, and a detailed step-by-step guide. By following these guidelines, you’ll not only protect your wooden fences but also enhance their beauty, ensuring they stand the test of time.
- Understanding Fence Staining: Benefits and Types
- Preparing Your Wooden Fence for Staining and Sealing
- Choosing the Right Stain and Sealer: Factors to Consider
- Step-by-Step Guide: Applying Stain and Sealer to Your Fence
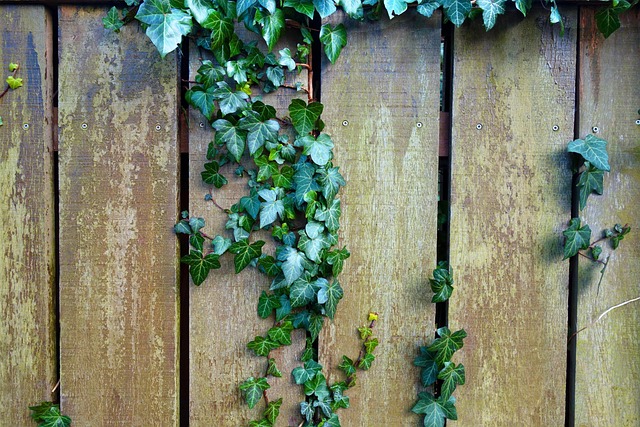
Understanding Fence Staining: Benefits and Types
Fence staining is more than just adding colour; it’s a process designed to protect and enhance your wooden fence. By applying a stain, you’re creating a barrier that shields wood from damaging elements like UV rays, moisture, and extreme temperatures. This not only prolongs the life of your fence but also maintains its aesthetic appeal. Various types of stains are available, each offering distinct benefits. Oil-based stains, for instance, penetrate deep into the wood, enhancing its natural grain while providing excellent protection. Water-based stains, on the other hand, are more environmentally friendly and easier to clean up, though they may not offer the same level of penetration as their oil-based counterparts.
Choosing the right type depends on your fence’s specific needs and your personal preferences. Consider factors like climate, exposure to sunlight, and the overall look you’re aiming for. Regular staining can transform a worn-out fence into a stunning feature that adds value to your property. It’s an investment not just in aesthetics but also in structural longevity.
Preparing Your Wooden Fence for Staining and Sealing
Before applying any stain or sealant, it’s crucial to prepare your wooden fence thoroughly. Start by cleaning the fence to remove dirt, dust, and debris using a pressure washer or a stiff-bristled brush. This step ensures that the surface is free from contaminants, allowing for better adhesion of the staining and sealing products.
Next, inspect the wood for any signs of damage, rot, or decay. Repair or replace any damaged sections to prevent further issues. Sanding the fence gently can also help smooth out rough surfaces and create a more even application area. Make sure the wood is dry before proceeding to the staining stage, as moisture can compromise the effectiveness of the sealant.
Choosing the Right Stain and Sealer: Factors to Consider
When it comes to enhancing your wooden fence, selecting the perfect stain and sealer is a crucial step. The right combination can transform the look and durability of your fence, offering both aesthetic appeal and protection. Consider the climate you live in; for instance, if you reside in an area with high humidity or frequent rainfall, opt for water-based stains that are more environmentally friendly and less prone to cracking.
The type of wood on your fence is another critical factor. Different woods have varying levels of natural oils and porosity, which can affect how the stain absorbs. For new fences, choose a stain with a higher concentration of pigment for better coverage and color retention. Pre-treated or aged fences might require a lighter stain to highlight their natural beauty. Always test a small area first to ensure the desired outcome.
Step-by-Step Guide: Applying Stain and Sealer to Your Fence
Applying stain and sealer to your wooden fence is a straightforward process that can transform its appearance and protect it from the elements. Start by cleaning the fence thoroughly to remove any dirt, debris, or mildew. Use a pressure washer or a brush with mild detergent to ensure a smooth surface. Once the fence is dry, choose your desired stain color and apply it evenly using a paintbrush or a roller. Allow the stain to dry completely according to the manufacturer’s instructions. After the stain has set, it’s time for the sealer. Select a high-quality water-based sealer designed for wood protection. Apply the sealer in thin, even coats, following the manufacturer’s guidelines. Let each coat dry before adding another to achieve maximum coverage and durability. This meticulous process will not only enhance the aesthetic appeal of your fence but also safeguard it against weathering and decay.